Making-of: depthcope
![]()
The making-of memo of this video.
Here's source code:
license type='mit' href='https://github.com/baku89/depthcope-toolsGitHub: baku89/depthcope-tools/license
... And below is the quick technical note.
Summary
This video is originally made for the Japanese TV Show, "TECHNE - The Visual Workshop". Every episode introduces one visual technique such as stop-motion, then challenges creators to produce a short video using that technique. I've called to appear on the program as a video artist, and my theme in this ep is to use "rotoscope". I had been thinking about how to extend the notion of rotoscope, and finally came up with this "3D rotoscope" technique.
In short, I made the 3d previs for rotoscoping in Cinema4D at first. It includes a 3d-scanned face with Kinect and geometrical forms which are a kind of unusual as a motif of clay animation. Then I rendered them as "depth map", which represents a distance from the reference surface, such as a topographical terrain map.


Next, I set a pair of Kinect and projector right above the rotating black table. I made the app that visualizes whether each point on a surface of the clay is higher or lower compared to the depth map, by colored lights of the projector. A part of the clay which is too higher turns red, and blue if it is lower. It turns green when it gets nearly right hight. Therefore, the form of the clay almost corresponds with the previs if all of the surfaces turn into green.


I mean we can trace the 3d previs with a clay by repeating this more than 500 times. Generally speaking, clay animations tend to be more handmade-looks and an analog one. However using such this workflow, I thought clays will move and metamorphose precisely like CG. In addition, I want to combine a highly automated system with such an old-style and laborious technique.
System
I used Dragonframe and EOS 7D for shooting stop-motion, openFrameworks for creating the shooting app. I adopt a Kinect V2, which partially works on mac.

Integration of Dragonframe and openFrameworks
Dragonframe only can send events by calling shell script with parameters, so I wrote the script which sends as OSC with Node.js.
license type='mit' href="https://github.com/baku89/dragonframe-osc"baku89/dragonframe-osc - GitHub/license
Kinect-Projector Calibration
I used ofxKinectProjectorToolkitV2 for transformation from 3D Kinect coord to 2D projector coord. I calibrated with this sample in the addon. It exports calibration.xml which includes some coefficients.

The implementation of a transformation using the coefficients appears to be written ofxKinectProjectorToolkitV2::getProjectedPoint(), and I referenced it and rewrote it as the shader program to make it more efficient.
Converting to the Disc Coordinate
I realized a need for converting between the disc coordinate (whose origin is positioned at the center of the disc) and the Kinect coordinate (at IR camera) so I implemented the system to set an X-axis and Y-axis on the disc, like below gif:

Shooting
It was so tiring😭
References
Others
I made the mount for the projector and Kinect. Modeled with Fusion 360, and cut the parts from MDF with my CNC milling machine. Honestly, it was most exciting time than any other processes lol

I had planned to control also the rotating table, but it was failed because of a shortage of torque of a stepper motor 😨 I have to study about mechanic more.
Incidentally, I wanted to mix iron sand and a glitter into the clay to make it more variant texture. Below picture is the experiment for it.

And I also found the problem that the depth recognition turns unstable when someone stands very close to a Kinect. To measure the height precisely we have to go on standing the same position. After all, we had referenced the guides and contours which rendered with Cinema4D additionally. I'd like to find a smarter way.
Although there are many reflection points, it was so interesting to make such an experimental work with experimental workflow.
I think the Kinect community should be hotter. Until a few years ago there are so many digital arts using Kinect whose visual looks like "Minority Report", and it had got out of date. Many creative coders are now working on VR or deep learning field. However, I think there should be a lot of undiscovered ways to use a depth camera, whether using its depth image to visualize directly or not. So I'd like to go on digging it.
Anyway, I really don't want to touch clay anymore. At least 10 years...
このビデオの技術メモ。
ソースは以下。
license type='mit' href='https://github.com/baku89/depthcope-toolsGitHub: baku89/depthcope-tools/license
概要
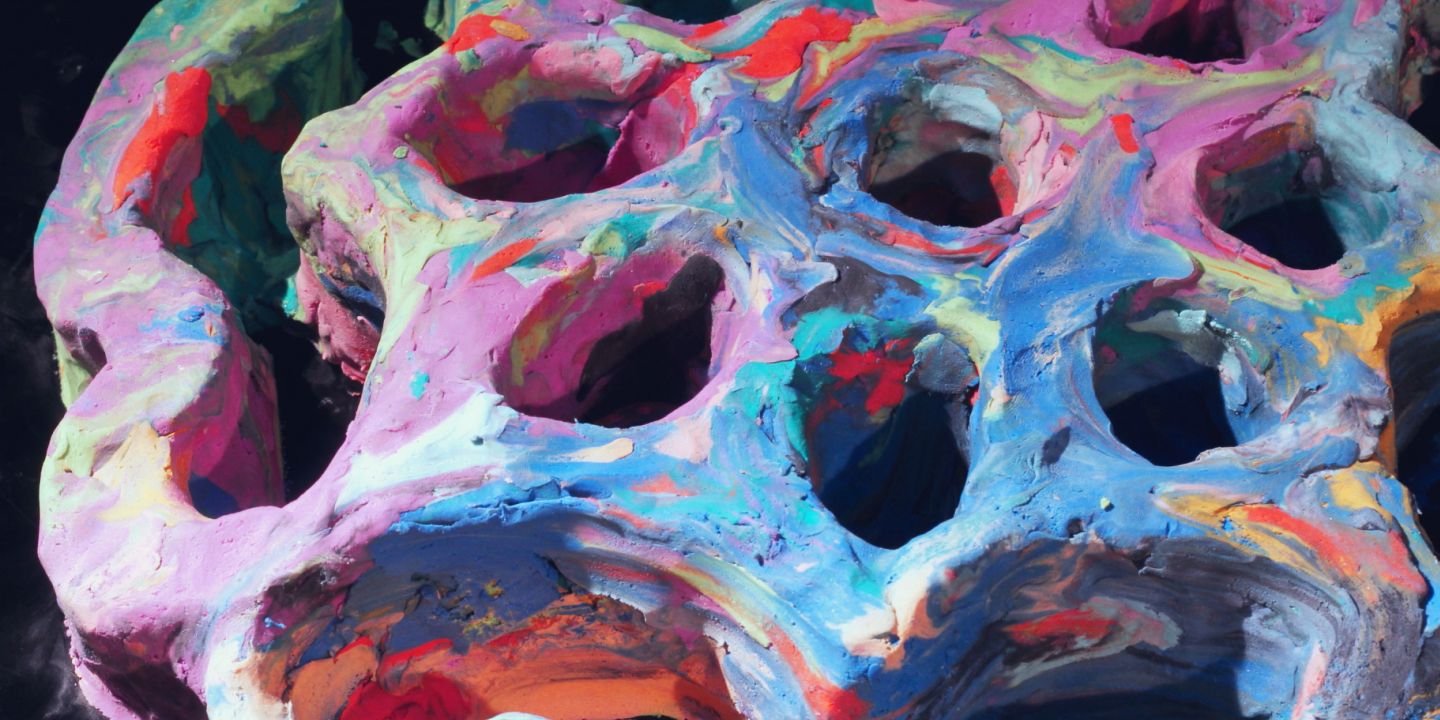
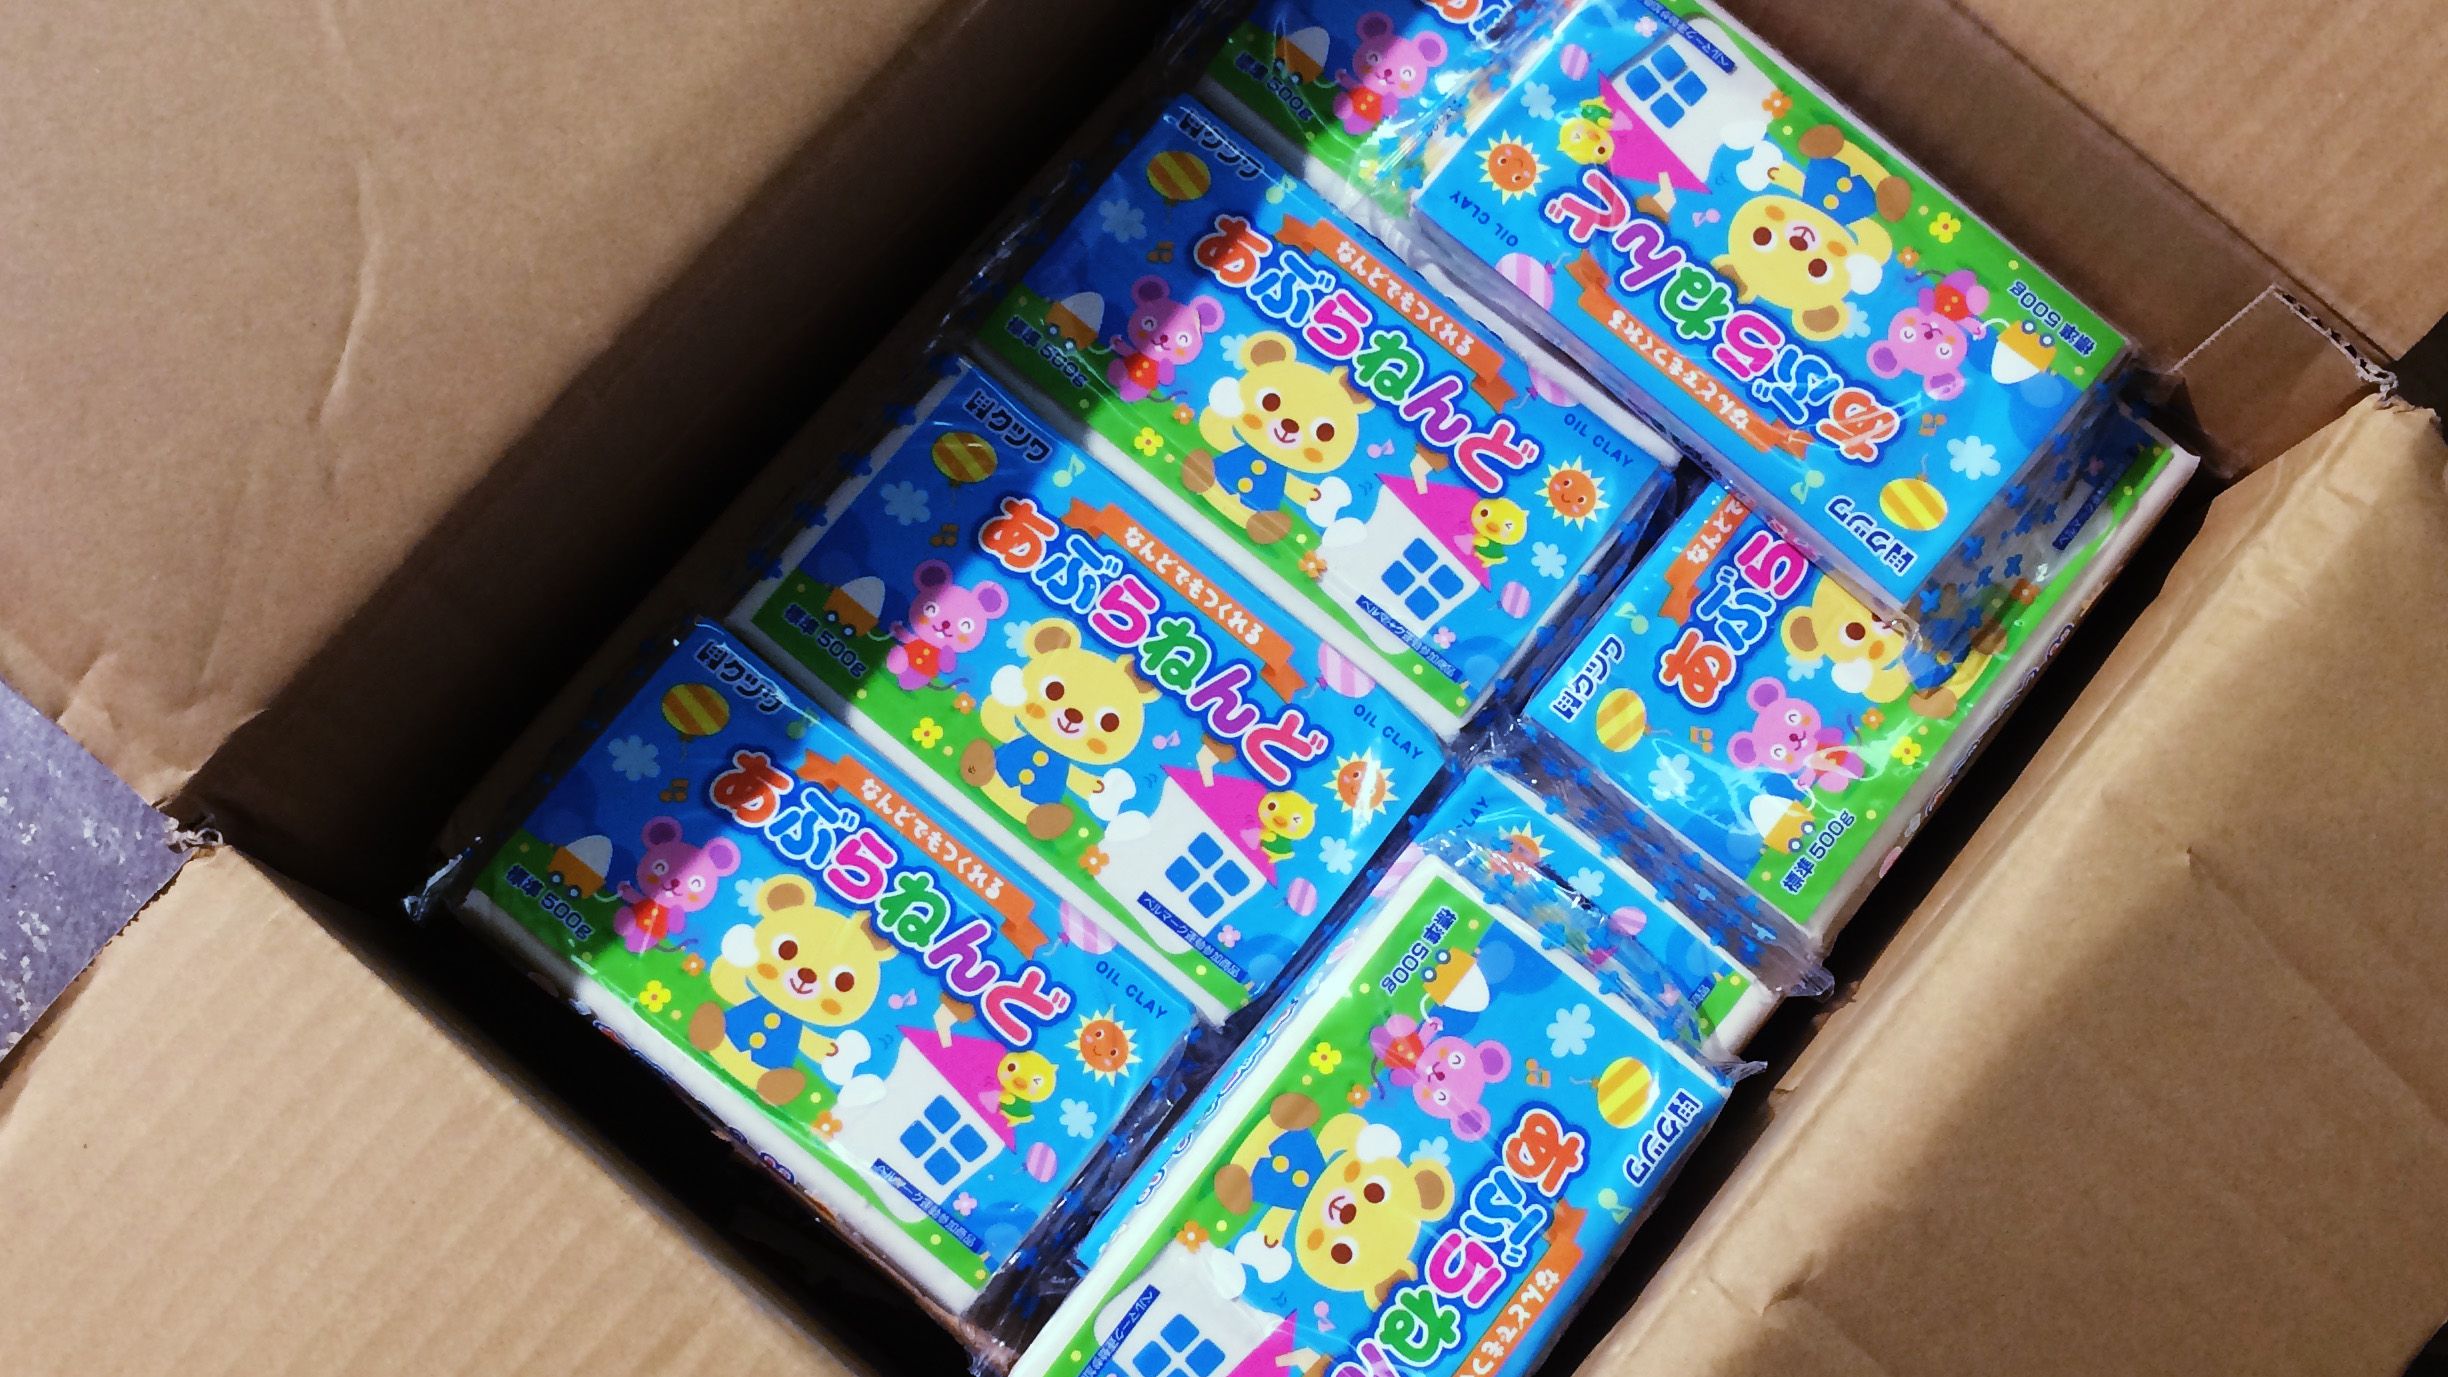
NHK E テレで放送中の「テクネ -映像の教室-」という番組内で、ある映像の技法をテーマに、映像作家がショートムービーを作るというコーナーがあります。今回は僕が依頼を受けたのは「ロトスコープ」でした。ドローイングも下手くそなことですし、いっそ開き直って普通に「実写映像の輪郭線を鉛筆でなぞる」のではなく、「立体の表面の高さを粘土でなぞる」ことに挑戦しました。いわば、3D ロトスコープです。
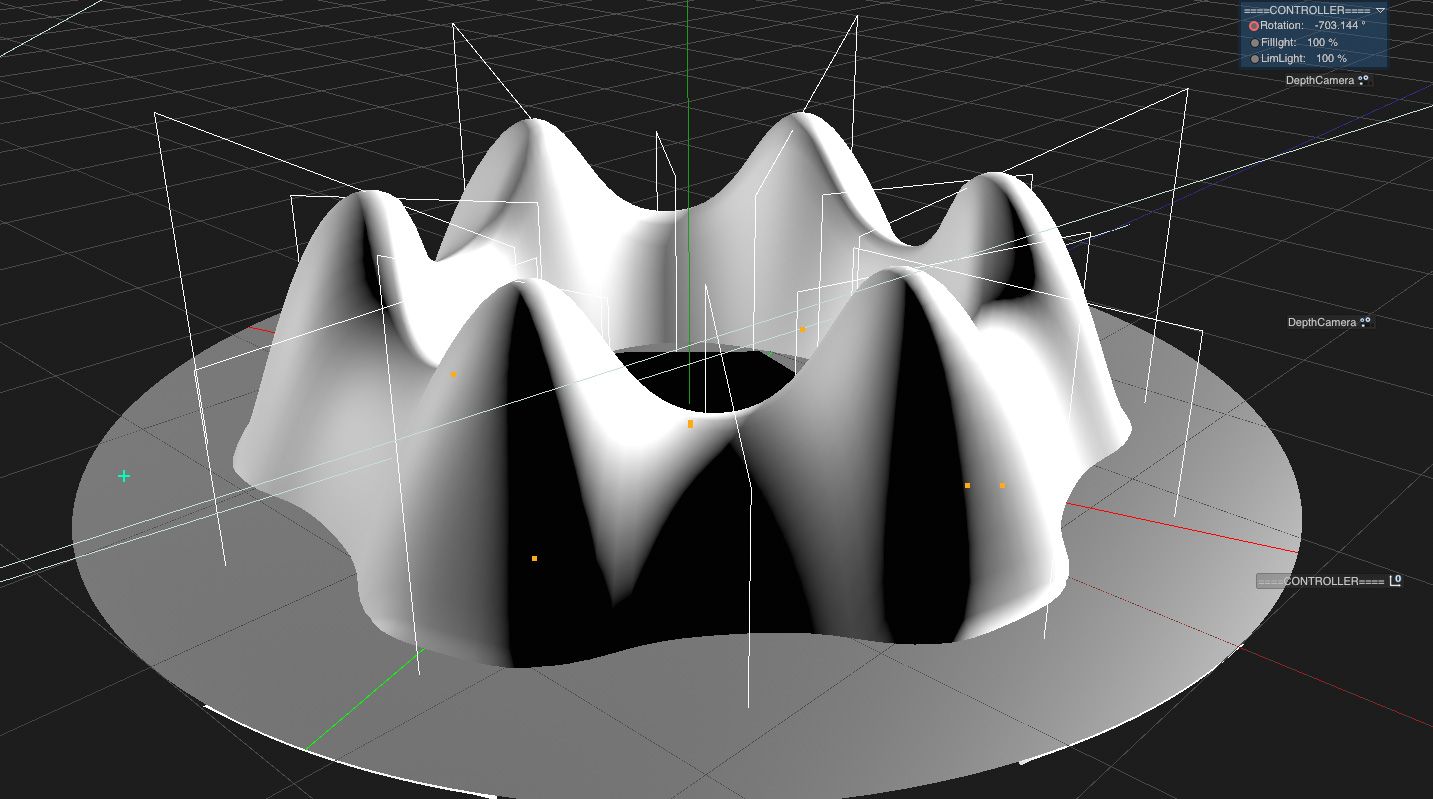
イメージとしては、まず Cinema4D で、ロトスコープするための立体アニメーションを作ります。Kinect で 3D スキャンした顔だったり、クレイアニメーションではあまりやらないような、幾何学的なモーショングラフィックスも取り入れました。それを、ちょうど標高の地形図のような、「深度マップ」として書き出します。


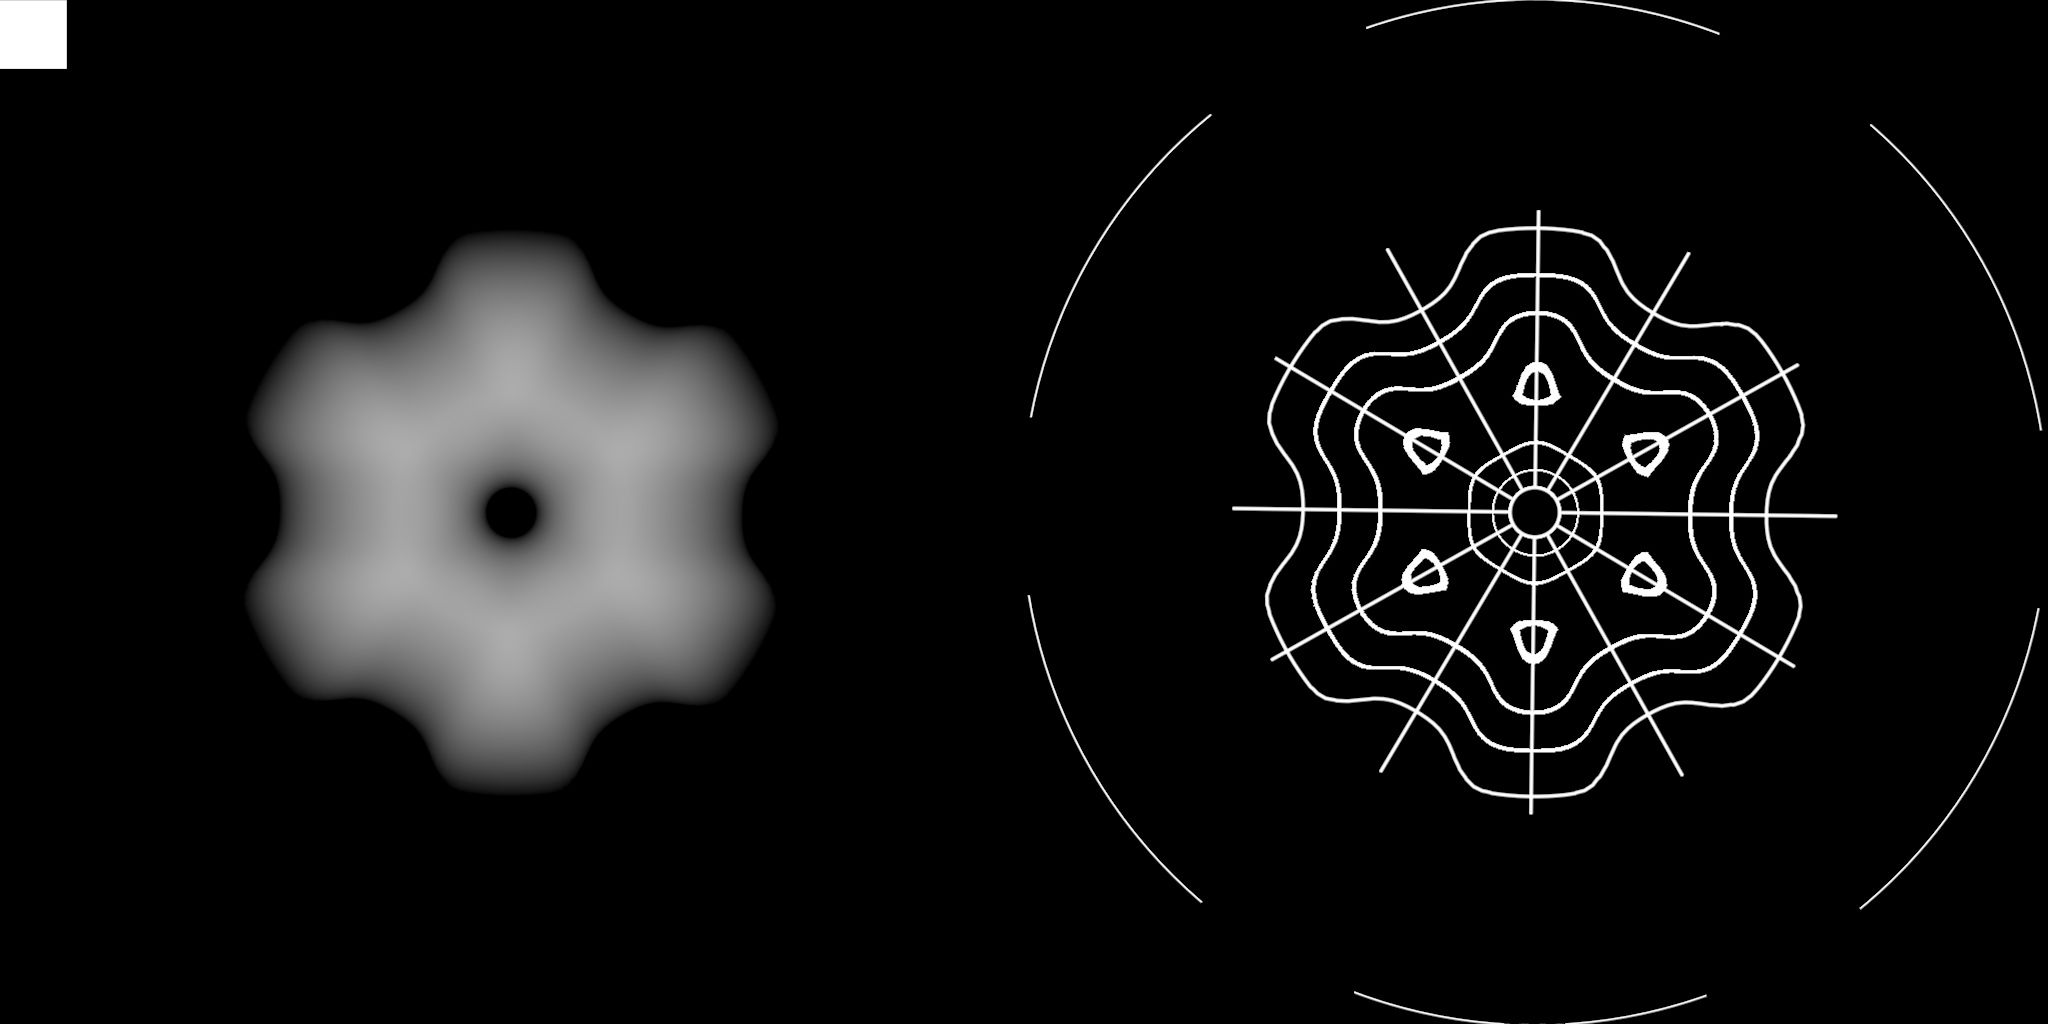
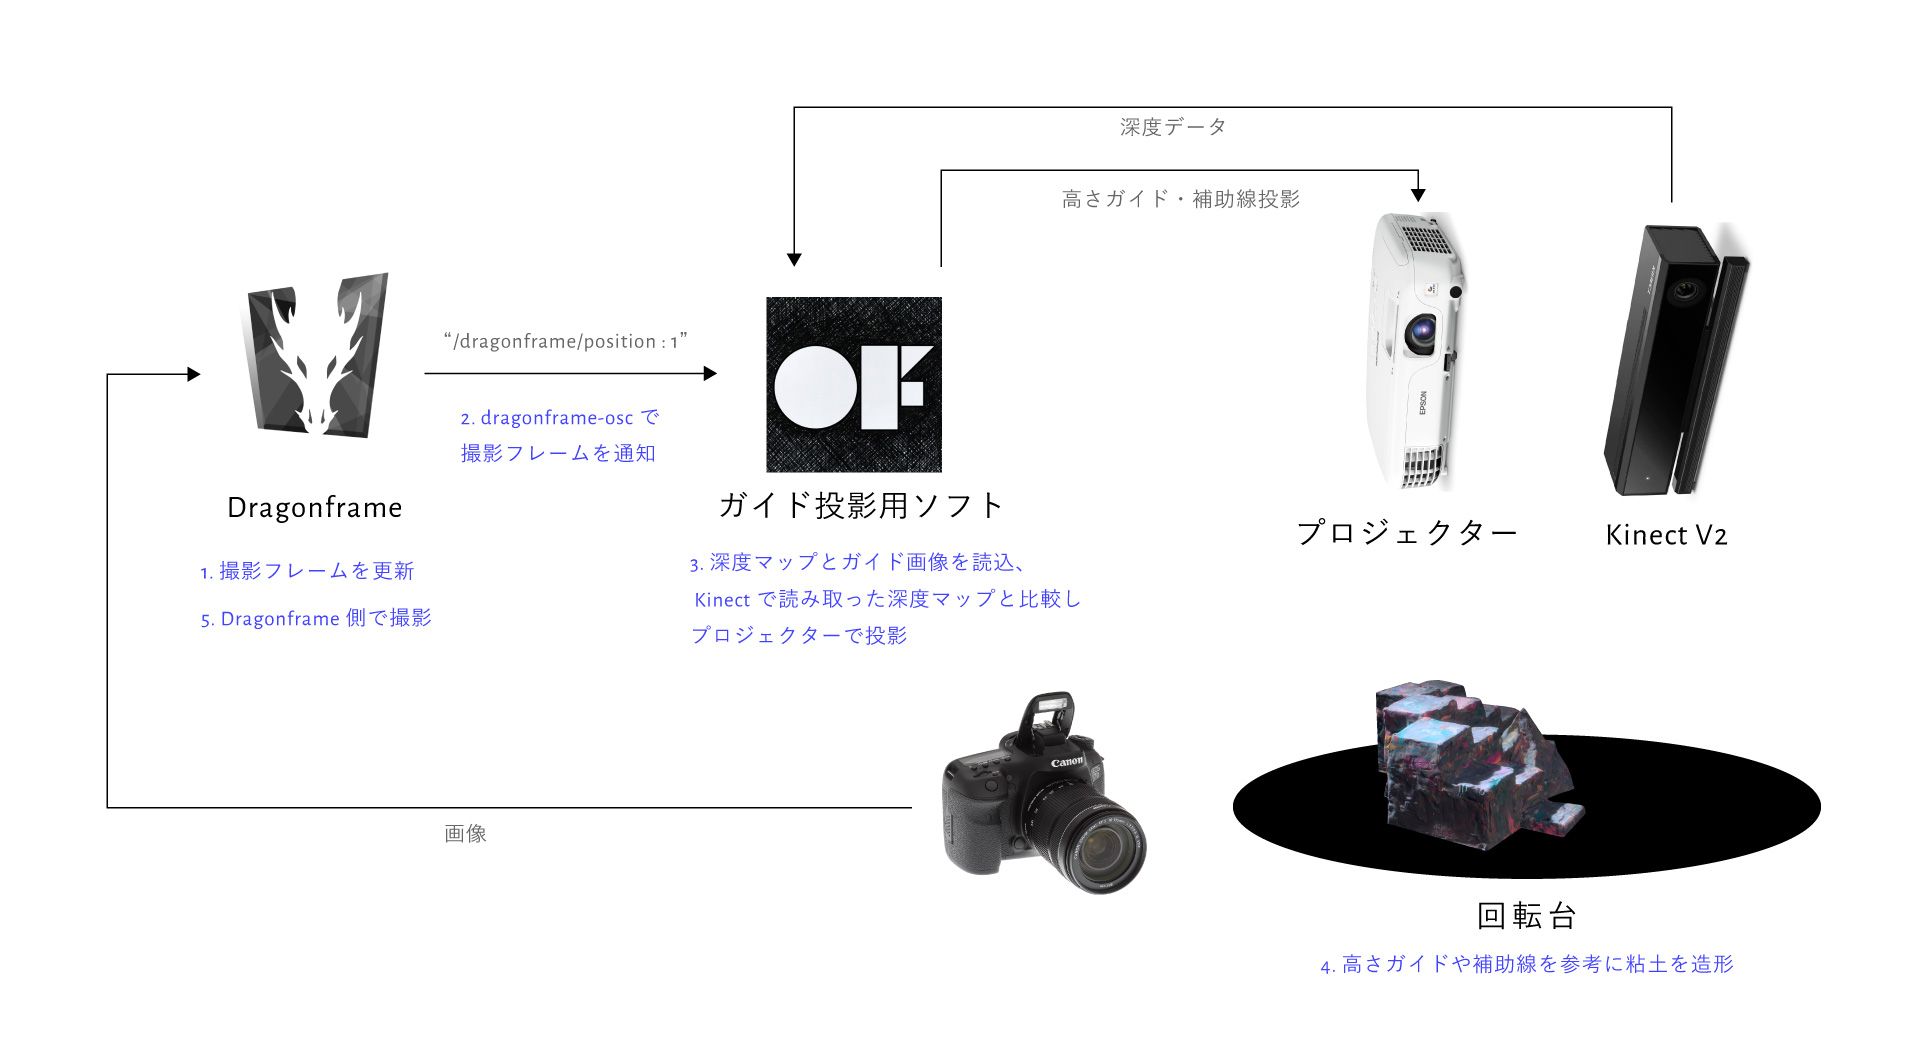
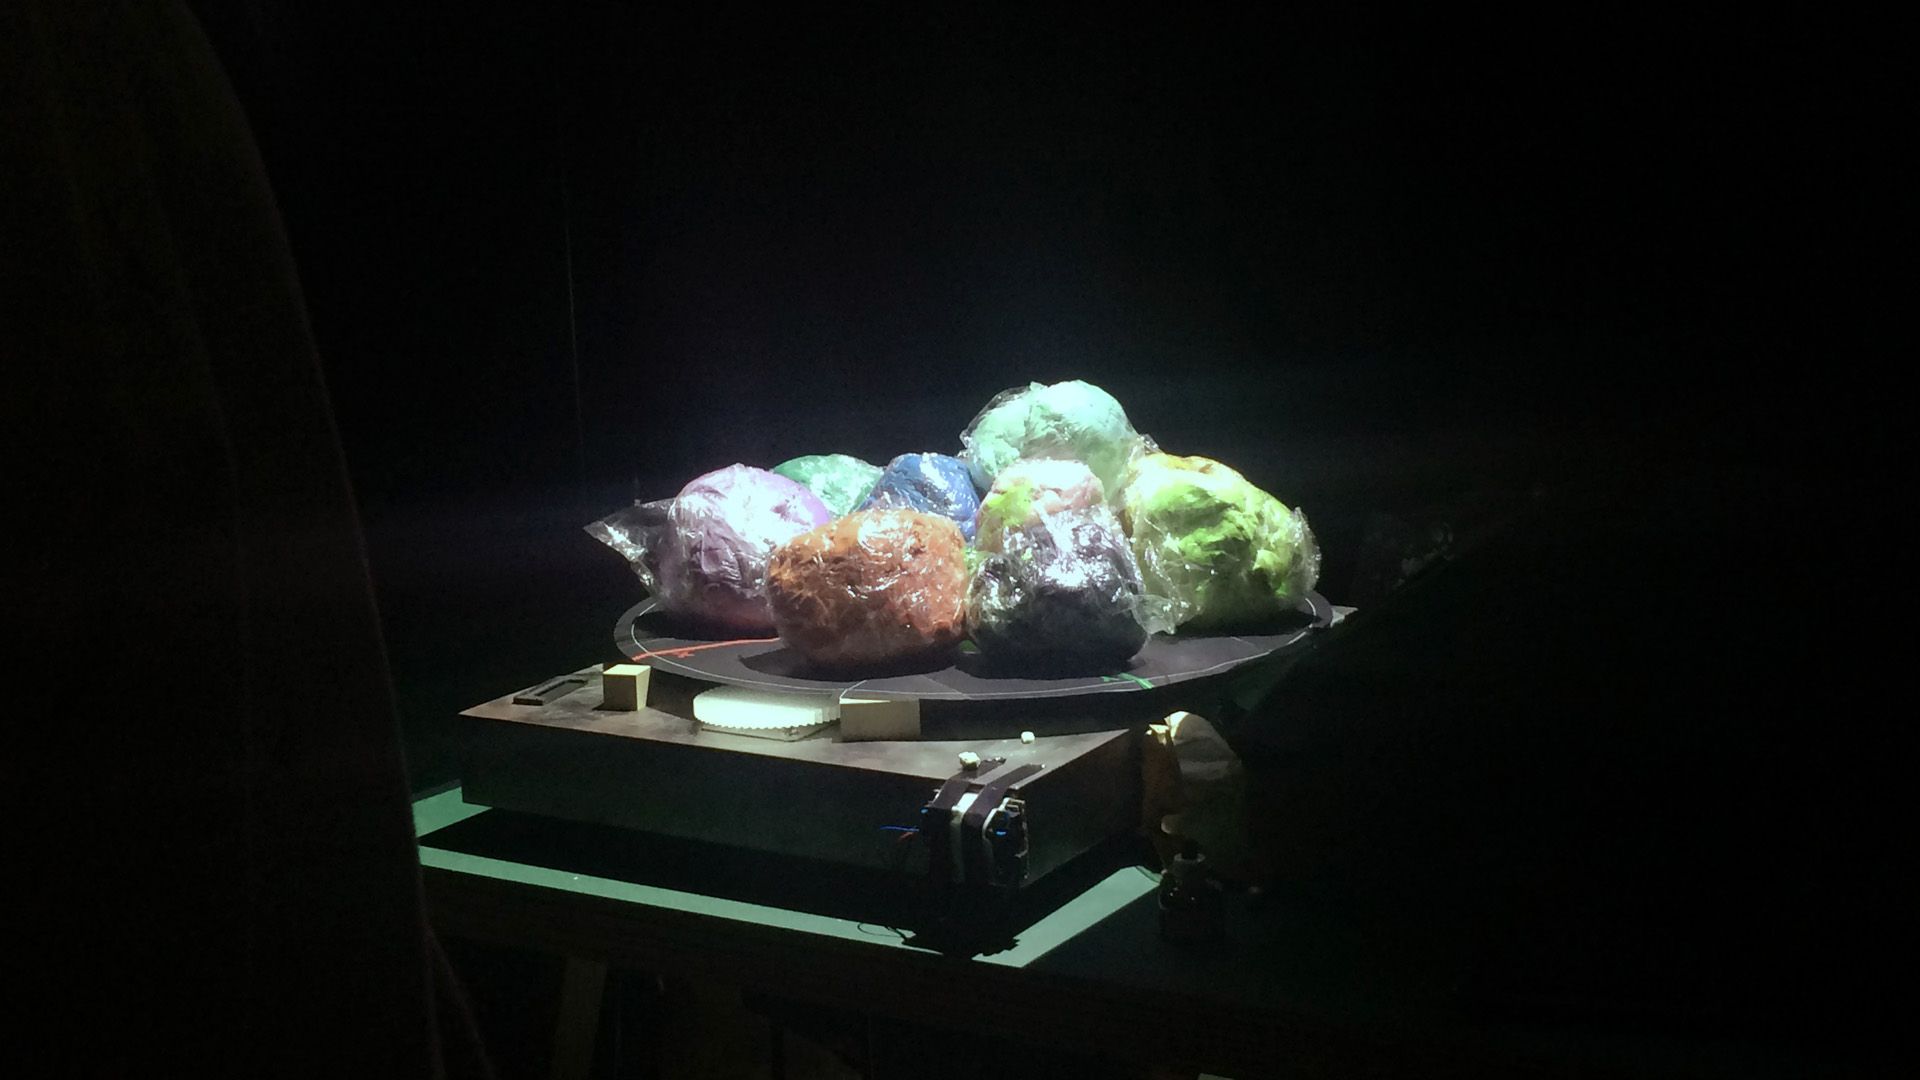
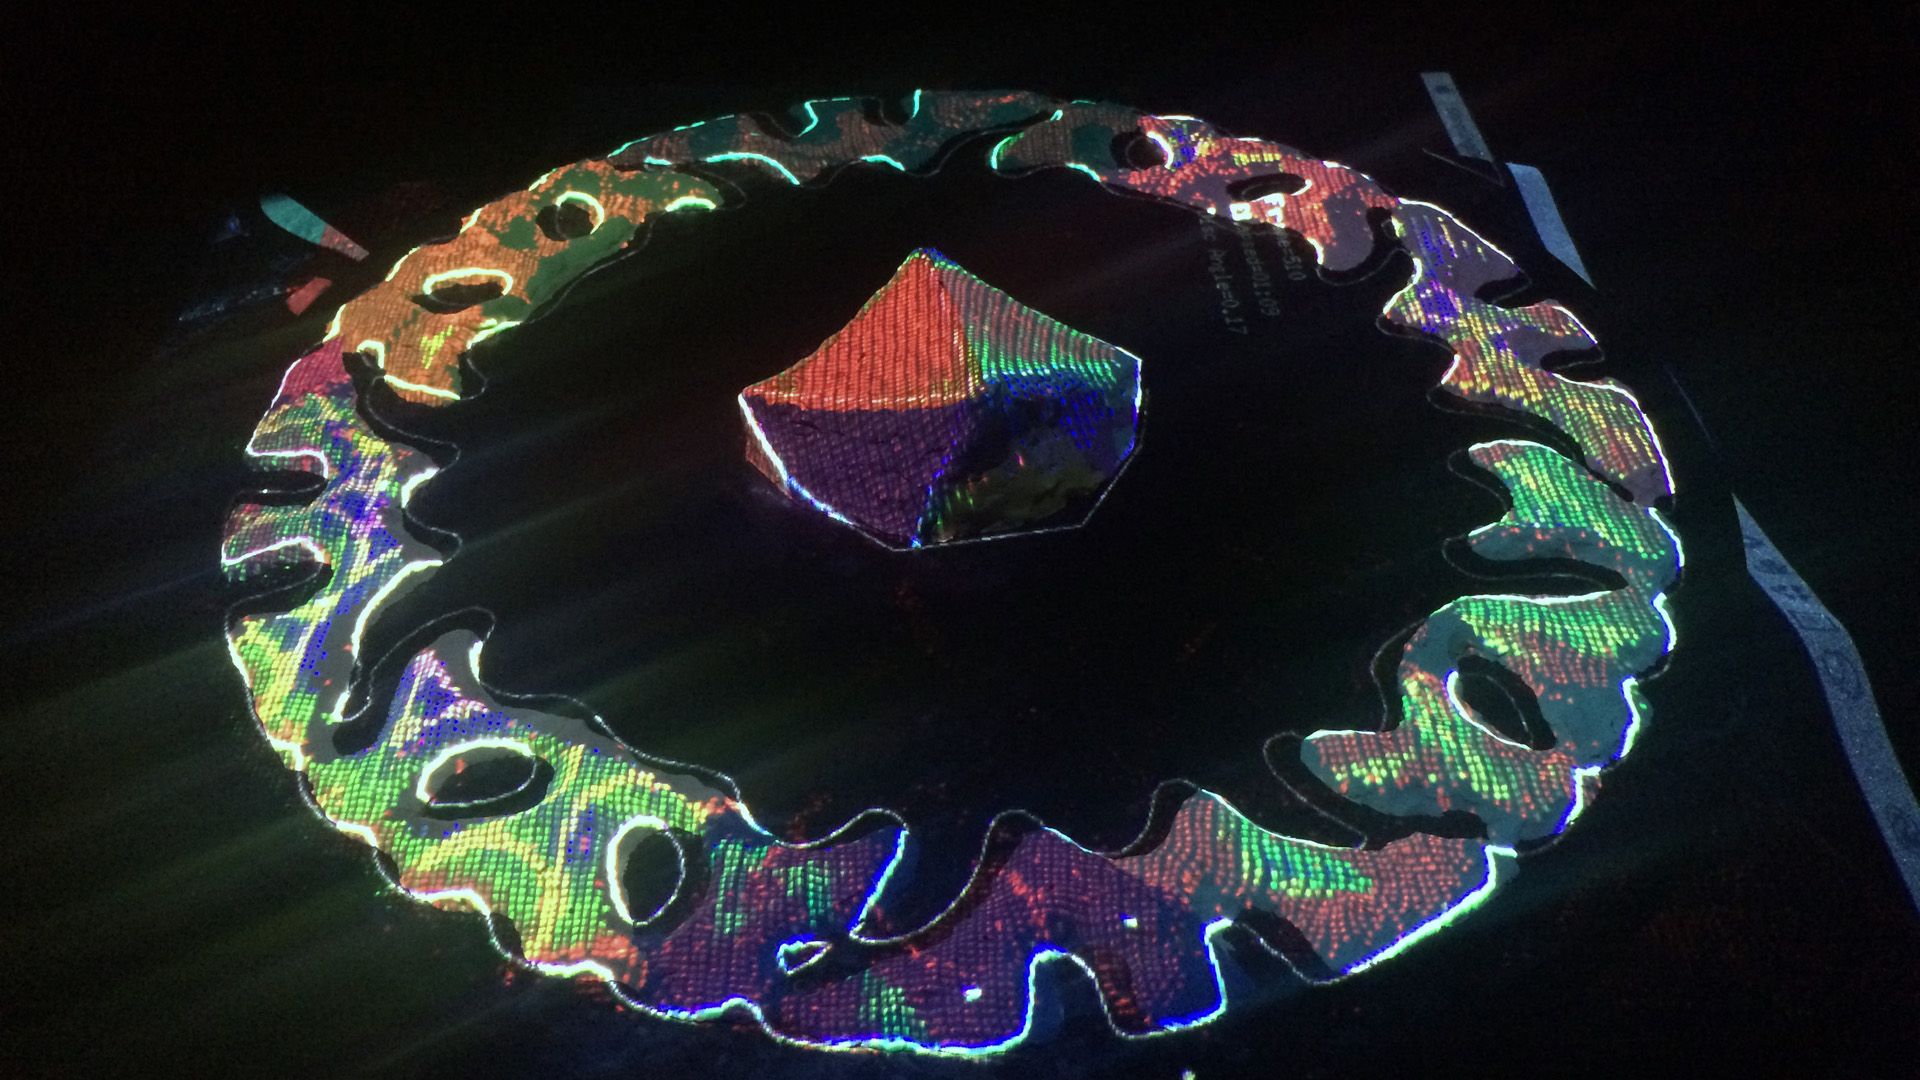
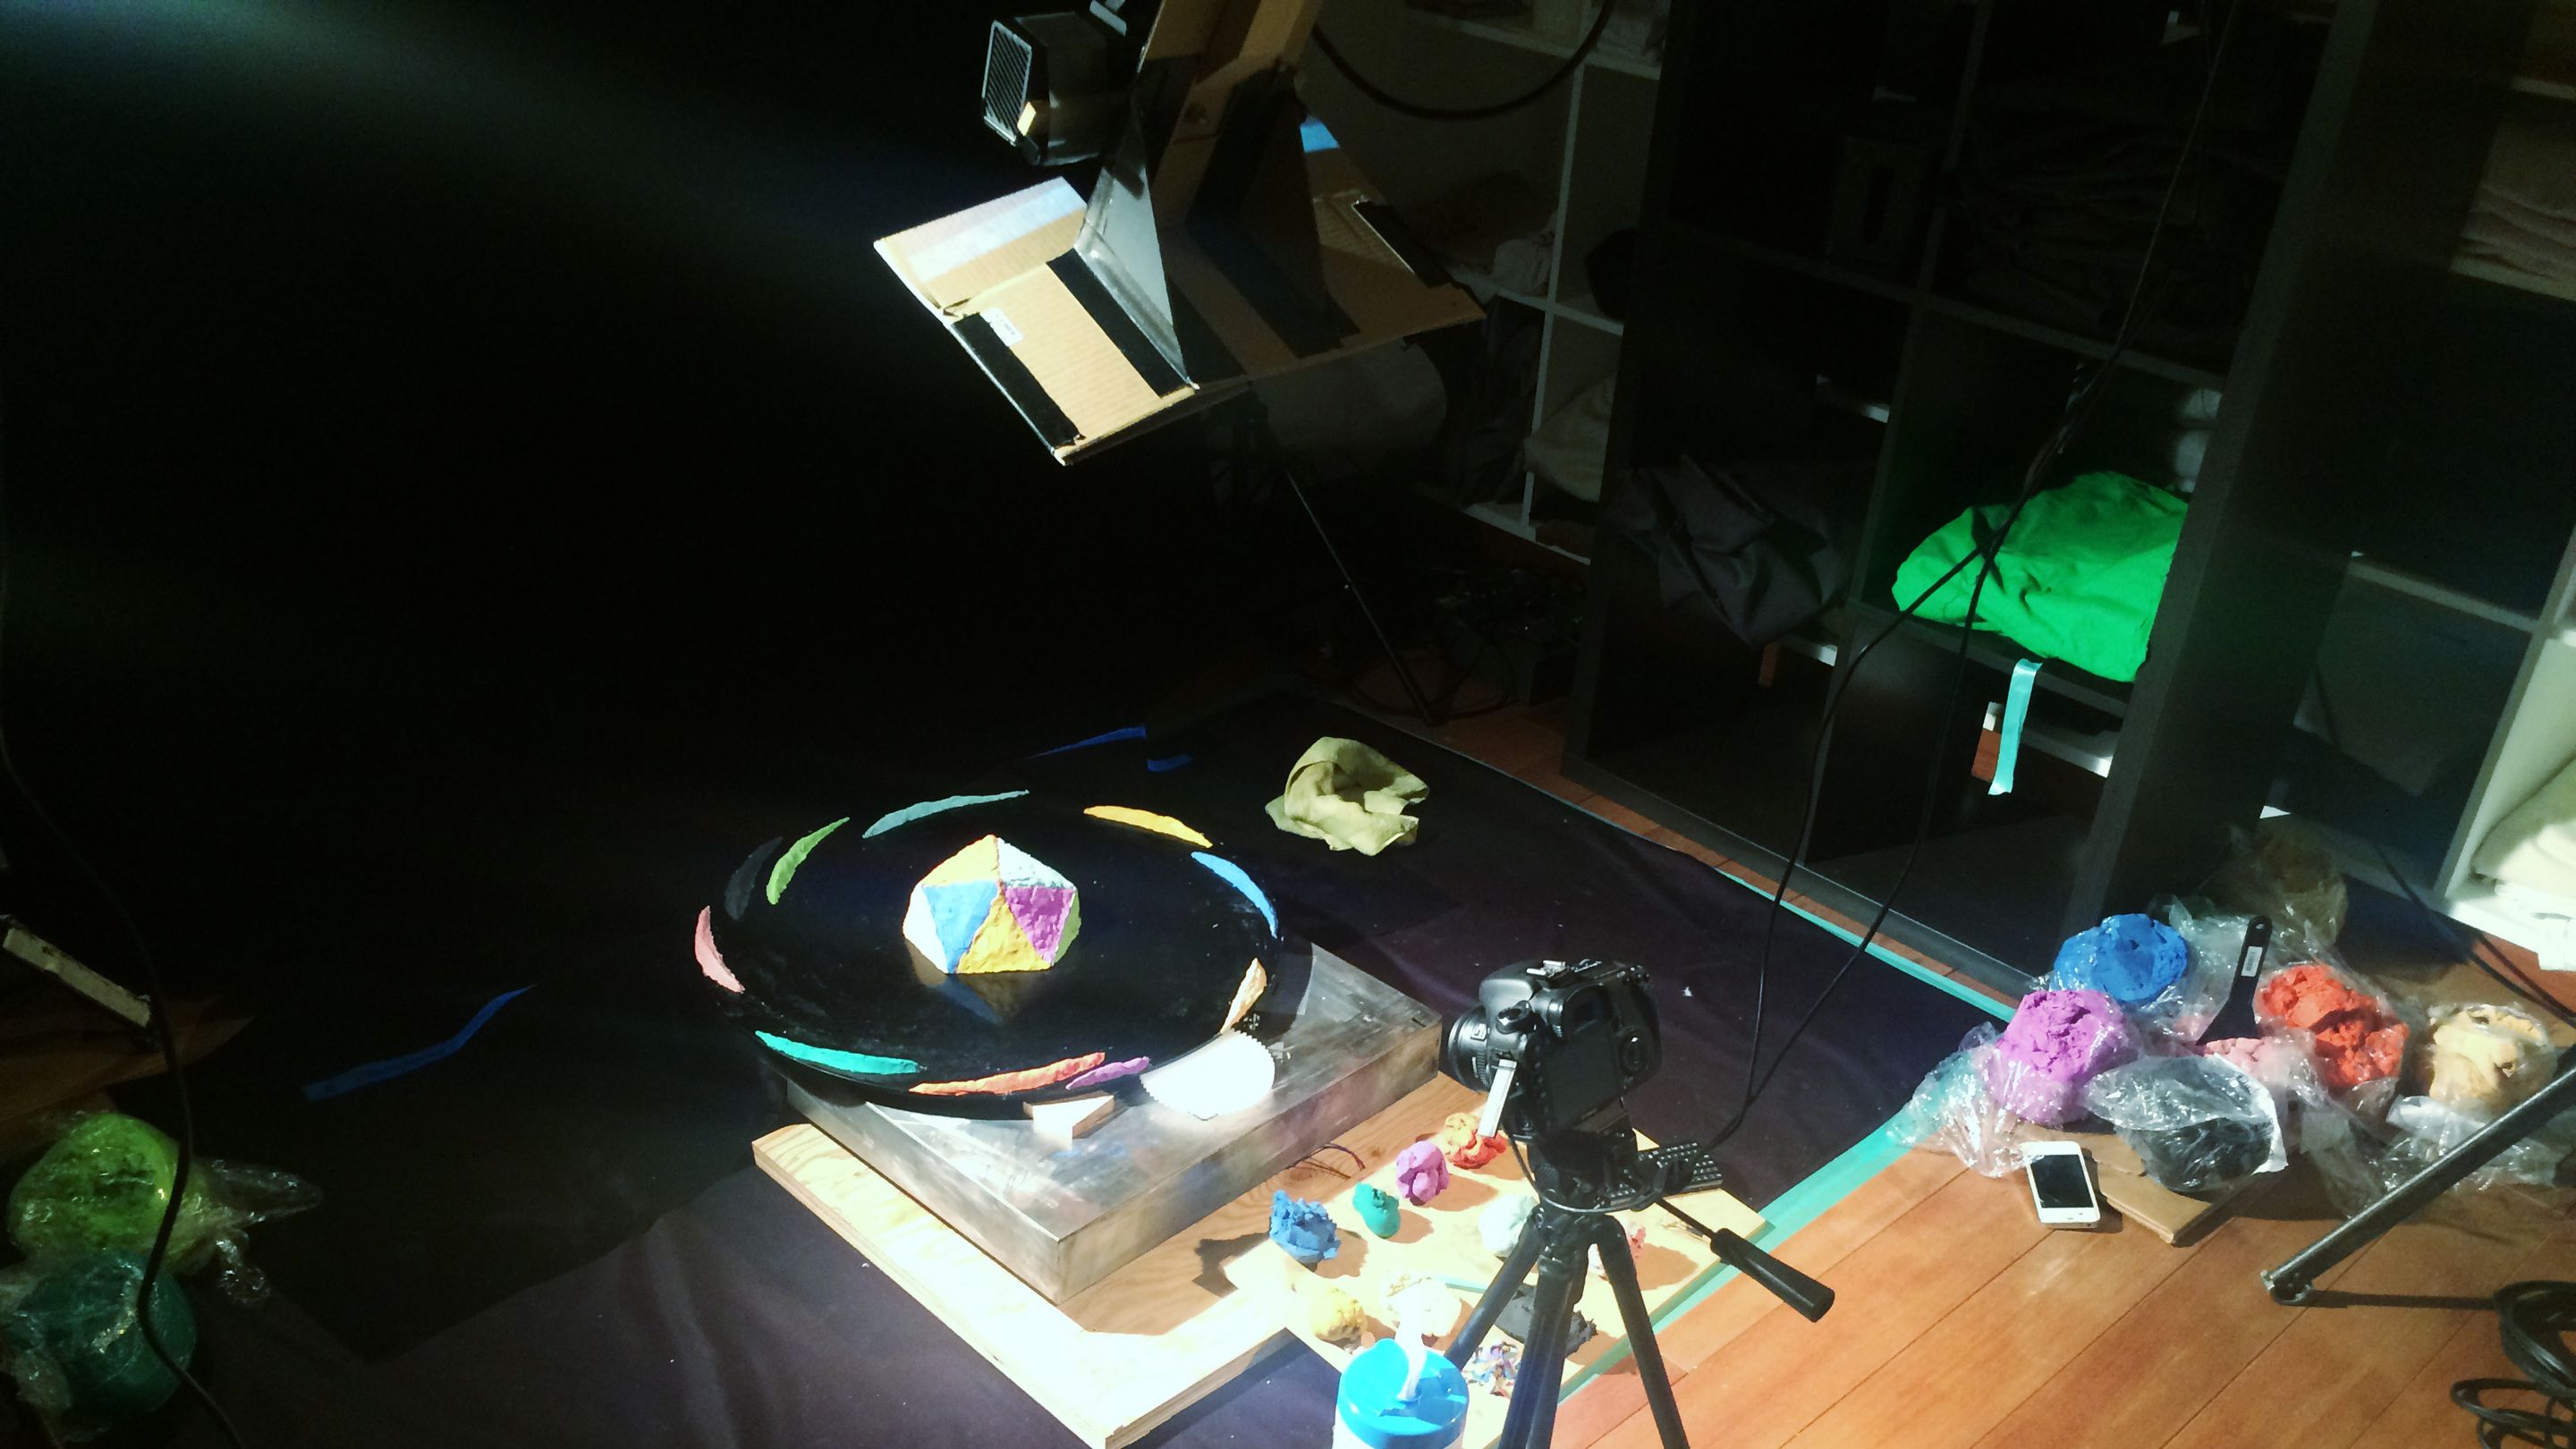
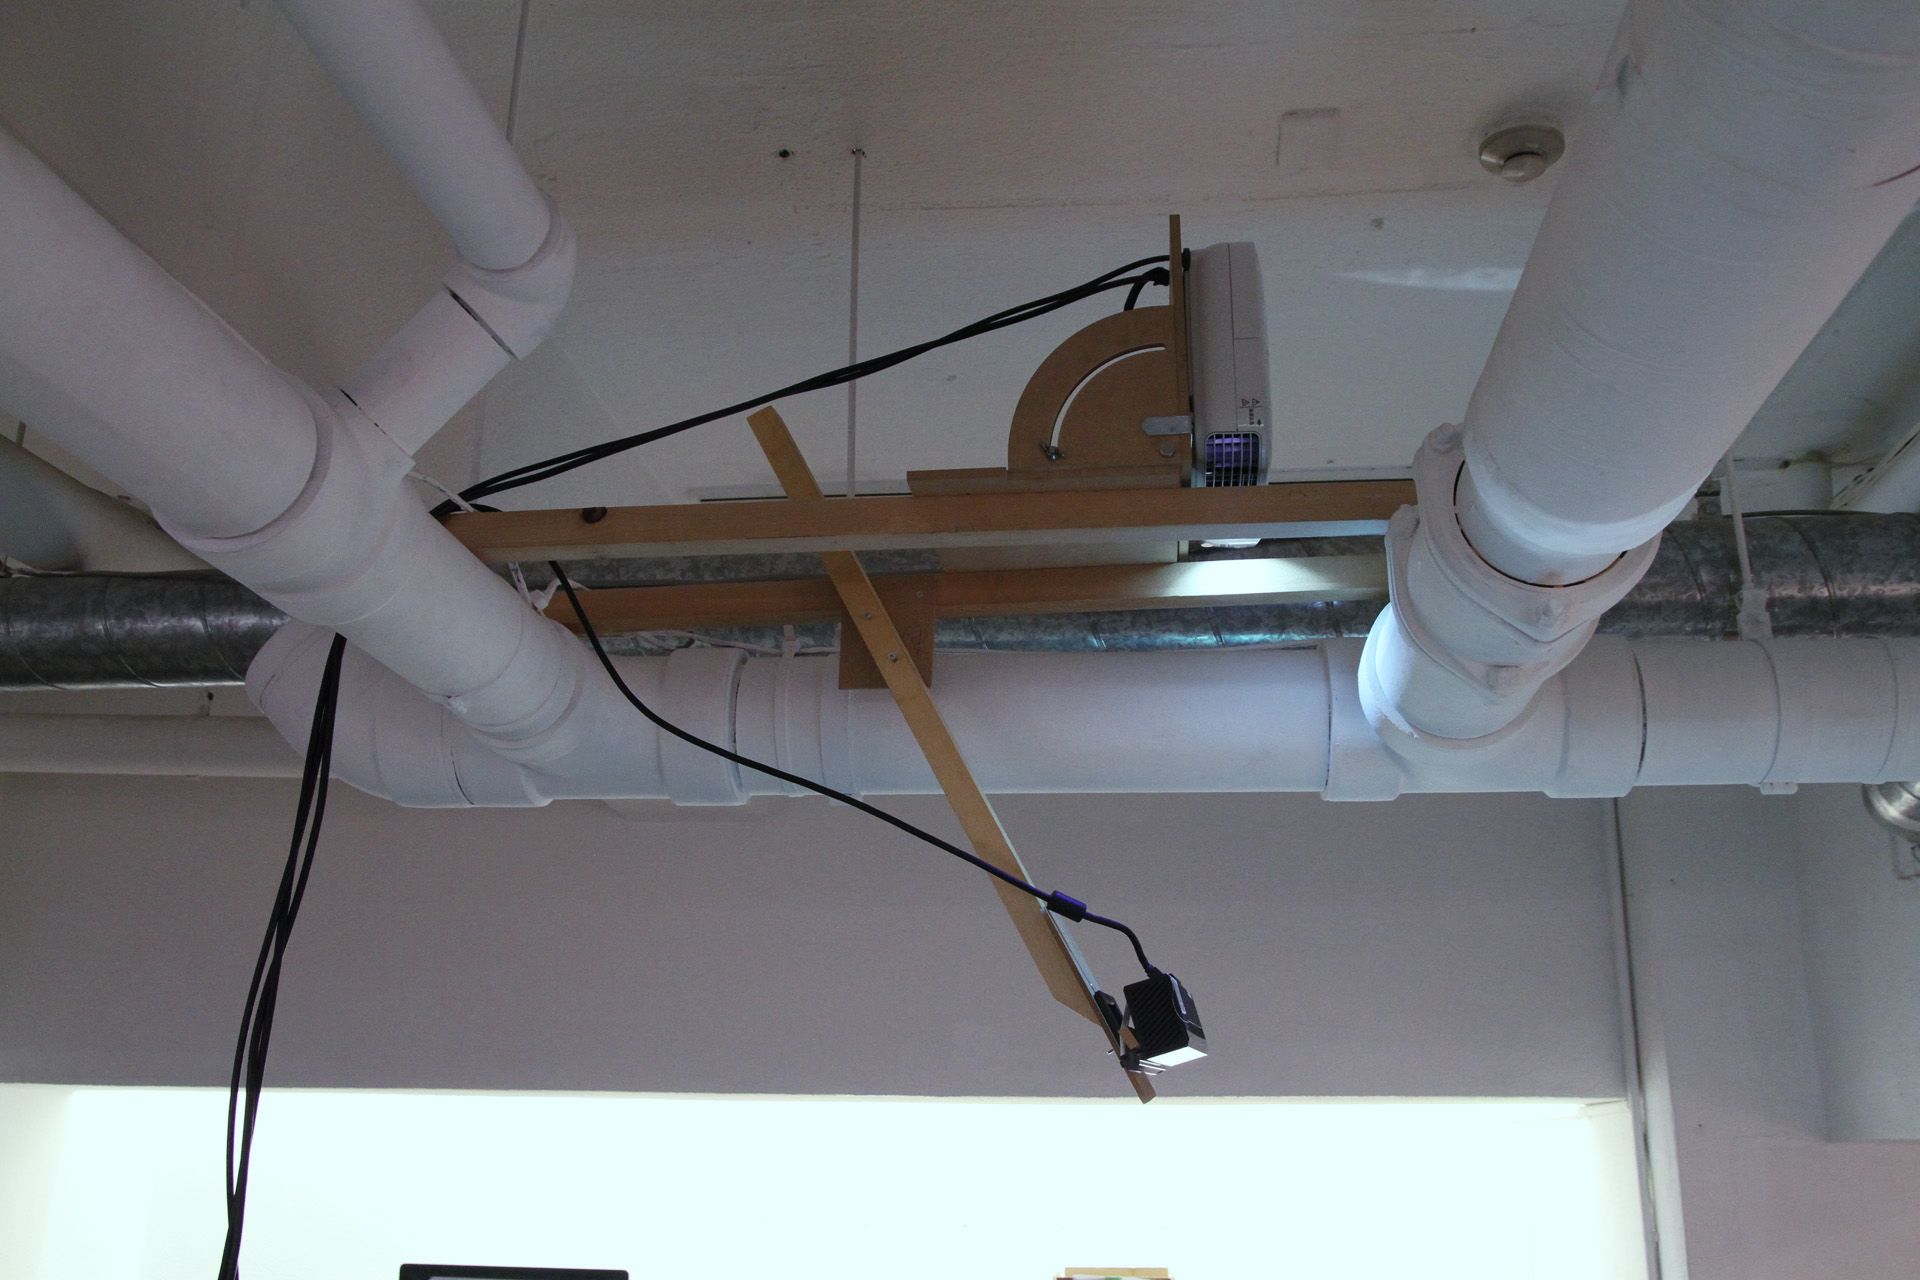
次に、粘土を盛るディスク状の回転テーブル(以下、ディスク)の真上にプロジェクターと Kinect を設置して、テーブルに盛られた粘土の高さが、先ほどの深度マップより高いか低いかを、粘土の上に色分けされた状態で投影するシステムを作りました。今回の場合は、基準高さより高い箇所は赤、低い箇所は青、許容値以内に収まっている場合は緑です。つまり、粘土が全部緑色になれば、それは Cinema4D で作った立体とおおよそ同じ形になっているということを表します。


これを 500 フレーム超、粘土が緑色になるように形を調整しながら 1 枚 1 枚コマ撮りしていくことで、3DCG で作った立体をそのまま粘土でトレースしていってしまおうという寸法です。普通クレイアニメは、有機的で手作り感の溢れる動きになりがちです。こういった作り方をすることで、粘土のくせに CG みたいに正確に動くキモさだったり、3DCG で作ろうとすると却って面倒くさいような、色の混じりあいや表面の凸凹といった偶発性の両方を取り入れられないか試してみたかった、ってことです。
システム
コマ撮りソフトには Dragonframe を使用。撮影は 7D。システム周りは全部 openFrameworks で作りました。Kinect V2 を Mac で動かしてます。

Dragonframe と openFrameworks の連携
Dragonframe のイベント送出は引数付きでシェルスクリプトを呼び出すという謎仕様なので、OSC として送出しなおしてやるスクリプトを Node.js で書きました。
license type='mit' href="https://github.com/baku89/dragonframe-osc"baku89/dragonframe-osc - GitHub/license
Kinect とプロジェクターのキャリブレーション
Kinect からプロジェクターへの座標変換は、ofxKinectProjectorToolkitV2に全部任せました。サンプルのcalibrationを使って吐き出したcalibration.xmlを使う。

キャリブレーション係数を使った座標変換は、ofxKinectProjectorToolkitV2::getProjectedPoint()で実装されているようですが、このあたりを参考にシェーダで書き直しました。
ディスク原点の座標系との変換
Kinect のカメラ位置原点の座標系と、ディスク原点の座標系とを変換する必要が所々出てきたので、その仕組みも実装。ディスクの上からガイド用のシートを乗っけて、下の GIF のようにディスク上の X 軸 Y 軸を設定。

撮影
あとはひたすら撮影。500F 超撮影しました。
リファレンス
その他
プロジェクターと Kinect のマウンターを自作しました。むしろ本編より頑張った。Fusion 360 を使って設計し、フライス盤で MDF ボードを切削。

回転台も自動制御する予定でしたが、トルクが足りず失敗 😨 電子工作とメカニックしゃんと勉強したい。
撮影システムを作るのに時間をかけ過ぎて、十分にコマ撮りする期間を取れなかったのも反省点です。本当は、各粘土に砂鉄やグリッター、真鍮箔などいろいろなものを混ぜて、変な質感を出してみたかったです。

また、Kinect 自体、V2 になって格段に精度が上がったものの、近くにいる人に影響されて、粘土部分の深度も干渉を受けてしまうということが分かりました。思ったほど標高ガイドがうまく働かず、結局 Cinema4D で出した輪郭線や補助線を頼りに造形した部分も多々あったので、課題点です。
一体これがロトスコープだったのか、「ストップモーション」とか「撮影機材」、「プログラミング」でもなんでも良いじゃねぇか、って気持ちにもなりつつ後半作ってました。予想以上にうまくいった点、失敗した点もありましたが、こうやってしゃんと、実験しながら作ることができたので面白かったです。
Kinect コミュニティもう少し盛り上がってよ!という気も。数年前に Kinect 使ってマイノリティ・リポートっぽいのが量産されて、そんで(V2 の Mac 非対応もあり)飽きられて今深層学習とか VR にみんな行っちゃってるんで、僕は今から Kinect を掘っていこうと思います。深度カメラを使ってできることってもっとあるはずなので。
あと、当分粘土はさわりたくないです。


